Pages

Showing posts with label Kid crafts. Show all posts

Thursday, August 7, 2014

DIY Leis and a Sandpaper Starfish Craft

We're soaking up the last bit of summer here before school starts, so last week some friends came over for a craft play date to make sandpaper starfish and Hawaiian leis.

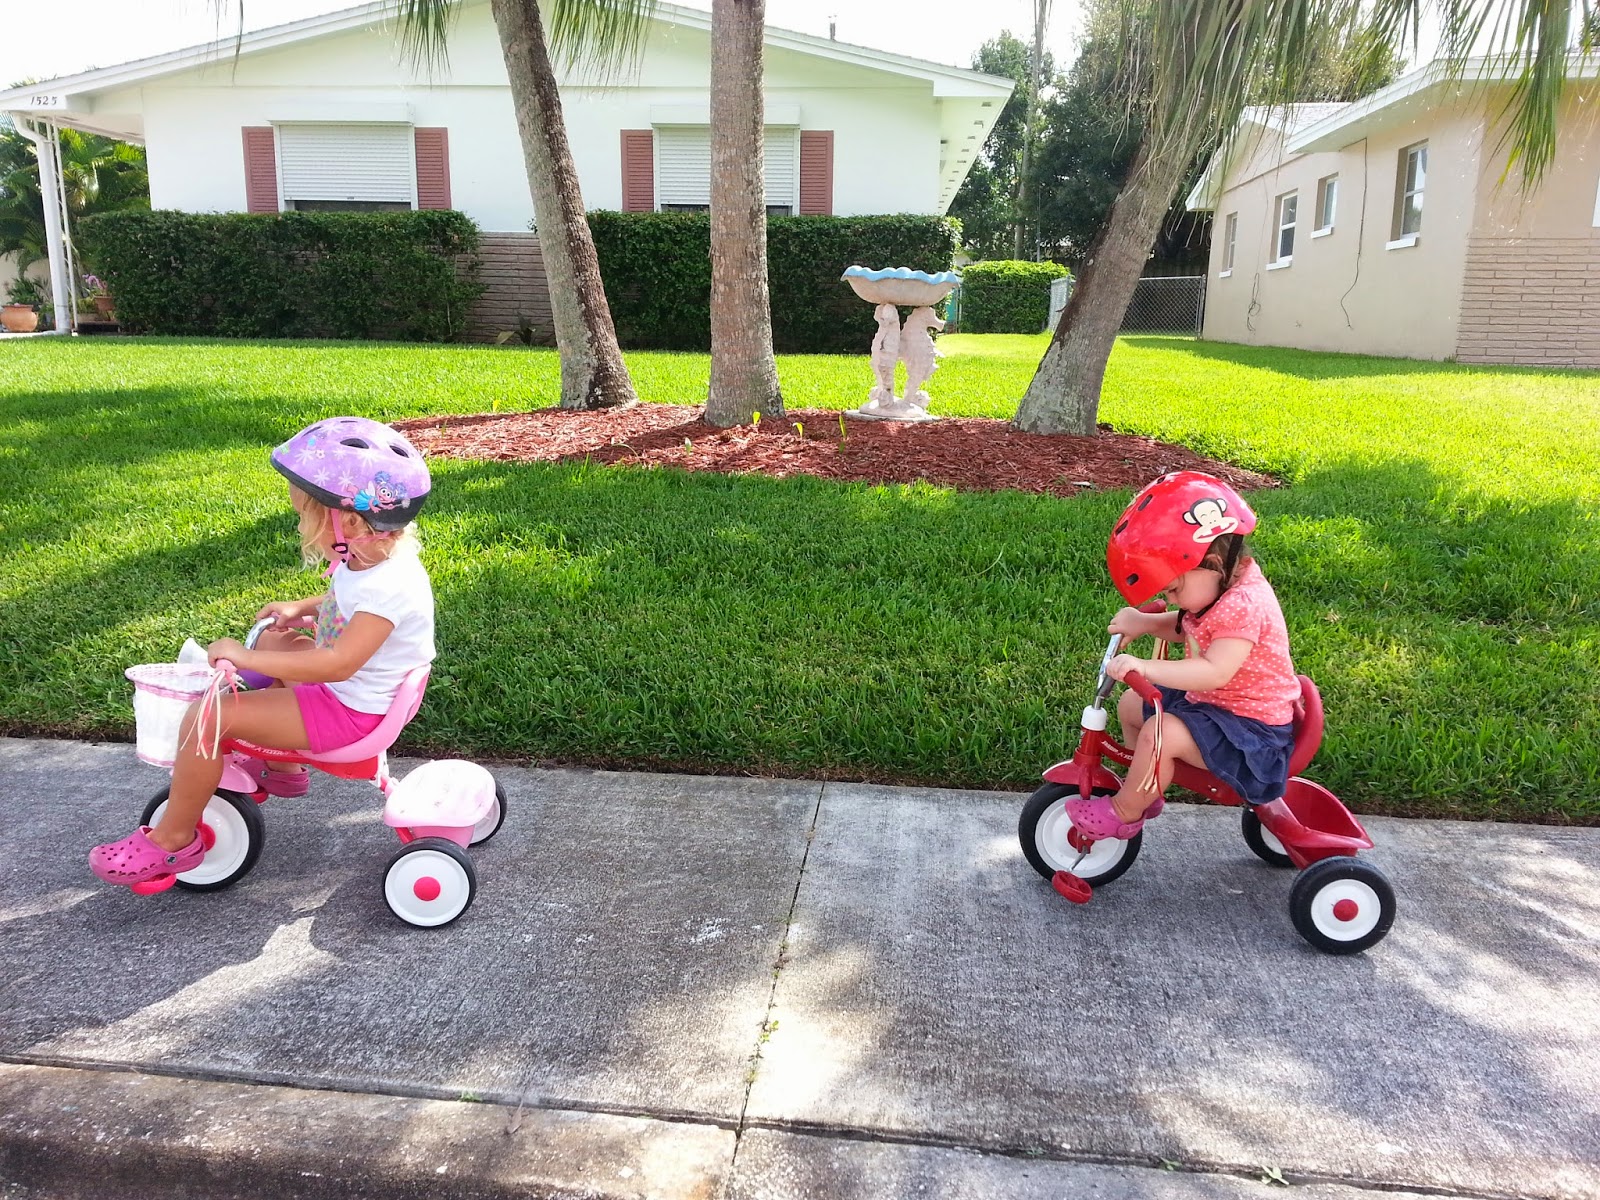
This was the calm before the storm.


There were only 3 adults to 7 kids (6 of them under the age of 5) with open bottles of glue and tubes of glitter with unsecured caps... So, you do the math!

Or if you prefer a visual approach:


Haha! Absolutely priceless.

When the kiddos decided that they were over arts and crafts, we had a "fight" over a broken pretend piece of corn on the cob, and Kendall threw up not once, but twice; the second of which my friend Beth caught IN HER HANDS - total mommy move right there, we (the grownups) agreed. Once everybody was fed, though, things did simmer down a bit and all in all it was a pretty successful play date as everybody had a really great time.


Craft Play Date II over at Shauna's next week!

Lately, it's become a regular thing for McKenna, Kendall and I to do arts and crafts on Saturday mornings while Daddy is out doing his rounds at the garage sales; he's recently taken up flipping as a hobby, online business and all!


I thoroughly enjoy spending this time with my daughters; sipping coffee, still in our pjs, tummies full from breakfast, and enjoying each other's company with Disney radio on in the background while working away on beautiful little masterpieces that I will cherish forever. A very "happy Saturday" indeed; emphasis on "happy."

While I certainly plan on keeping round one of this little project, we gave it another go over the weekend; there was plenty of starfish and hole-punched Hawaiian flowers leftover from our play date.


Here's what you'll need:
Sandpaper 
Blue construction paper
Blue marker or crayon
Googly eyes
Glitter
Glue

Before you begin, cut starfish shapes out of your sandpaper. I found a pack of 12 sheets at the dollar store. 

Then, using a blue marker or crayon, create waves on your construction paper and glue on the starfish. Add more glue to the top of the starfish and sprinkle on some glitter, or you can leave it plain as the sandpaper gives the starfish a realistic texture. Finally, add googly eyes and a smile.


Now, the leis! These were so much fun to make and turned out really cute.


Here's what you'll need:
Hawaiian flowers
Straws
Yarn
Scissors
Hole punch
Tape

The Hawaiian flowers are actually table scatter that I purchased from the dollar store to make these Flip Flops Fridge Magnets. You can find them in the seasonal section.

Cut the yarn and straws, and hole punch the flowers.


String away!


*TIP: Wrap a small piece of tape around one end of the yarn because it will come apart as you are threading it through the straws and flowers. Also, tape the other end to the table while you are working so your straws and flowers don't fall off in the (very likely) event that your lei gets knocked or pulled off of your working space ;-)

Monday, July 28, 2014

TP Roll Binoculars

We had a blast at the zoo on Saturday.


Alex and I let the girls take charge of the trip and we followed them around from exhibit to exhibit, allowing them to indulge in their every whim. 

Kendall had a sweet moment with the Grand Cayman Blue Iguana


And we rode the train for the first time!


Earlier that morning while Daddy was out doing his rounds at the garage sales, we kept ourselves busy with some arts and crafts.


Coffee and crafts; it was a very happy Saturday, indeed :-)


Here's what you'll need:
2 toilet paper rolls
Construction paper
Yarn
Hot glue
Scotch tape
Hole punch
Markers
Stickers

First, cut the construction paper to fit around the TP rolls and let the kids decorate to their heart's content. Then wrap the construction paper around the TP rolls and secure with tape; hot glue the two together. Use a hole punch to make two holes (one on each side) in one end of the binoculars and tie the yarn.


One pair of binoculars almost didn't make it to the zoo, while the yarn in the second pair was ripped out right after our first stop at the giraffes. By the end of the day, they both ended up squished and tossed in the trash on the way out. There's plenty more TP rolls where that came from, though! Waste not.

Wednesday, July 23, 2014

Cardboard Princess Castle

Alex was starting to question my stash of cardboard rolls in the hall closet, so I did what any mother would do and went straight to Pinterest for some crafty inspiration so that the girls and I could put those babies to use. There were some really cool ideas like these binoculars, this Ring Toss Game and this super cute butterfly, but when I came across this carboard Castle and Loo Roll Men, I immediately pinned it and logged off -- my work was done here! You see, there comes a time in every little girl's life where they are utterly obsessed with princesses...


Normally, we do our arts and crafting during the week while Daddy is at work, but it was a particularly hot, humid and rainy Sunday last weekend, and Daddy had gotten caught up in a craft of his own.


McKenna and Kendall were over playing dress up and all movied out, so it was time to get this princess castle rolling.


Here's what you'll need:
Small cardboard box
4 paper towel rolls
4 toilet paper rolls
Masking tape
Felt
Scissors
Hot glue gun
Box cutter
Acrylic paint
Buttons, rhinestones, stickers, glitter, etc. to decorate

First, using a box cutter, VERY CAREFULLY carve out the crenellations on one end of all four of the paper towel rolls; these will be your turrets. Next, VERY CAREFULLY carve out the drawbridge, leaving the bottom intact. (Did I cut myself with the box cutter? No, why do you ask...) Using masking tape and the four toilet paper rolls, form the top tower. Then secure all of these pieces to the box with masking tape (turrets) and hot glue (top tower).


I couldn't get the paint out fast enough; the girls were ready to get to it!


Add glitter.


Some to the castle, too, if you like ;-)

Once the paint had dried, I cut out a semi-circle of felt and hot glued it to the top tower to form the pointed roof while the girls rummaged through the odds and ends in our crafts supplies for decoration. 


Ta-da!

Saturday, July 19, 2014

20 Ways to Beat the Boredom Blues

Bored no more! Here are my go-to boredom blues busters (say that 5 times fast!):

1) Beach Day


2) Zoo Day


3) Farm Day


4) Library Day


5) Play dates


6) Picnics


7) Puzzles


8) Blocks


9) Books


10) Sidewalk chalk


11) Board games


12) Coloring books


13) Arts and crafts


14) The sandbox


15) The swing set


16) Dog walking


17) Bike riding


18) Puddle jumping


19) Cookie baking


20) Target.


What are your boredom blues busters? Do tell!

List your top 12 solutions for bored children.